


Graphenano Dental
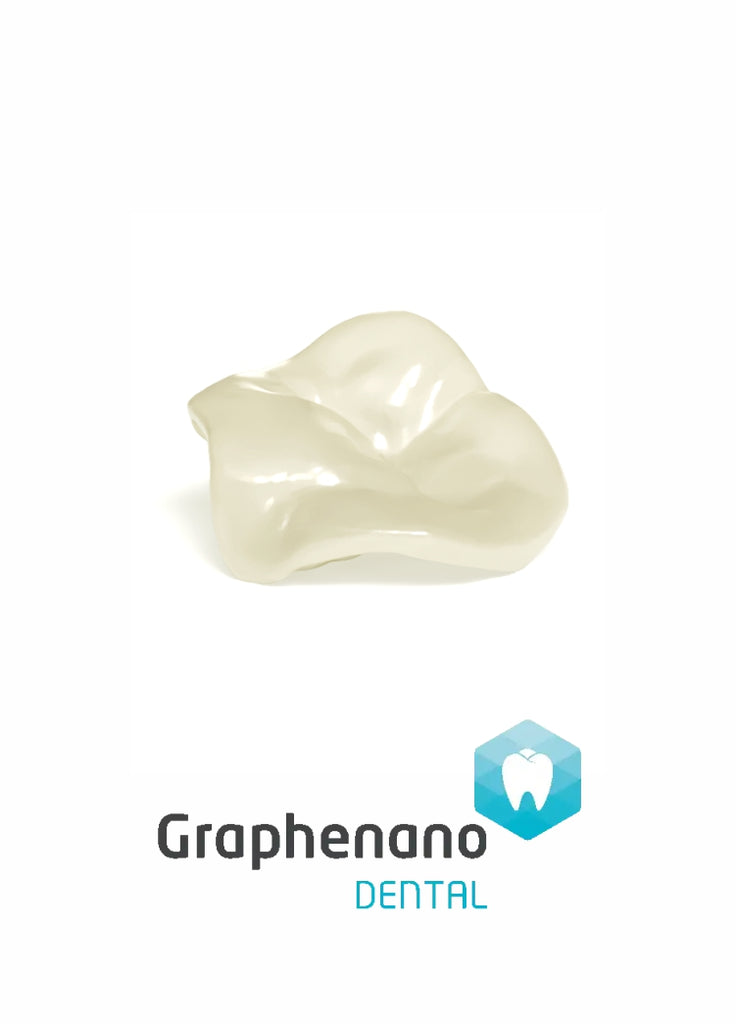
Graphenano G-CAM Inlay Onlay
Elevate Your Restorative Standards with Graphene Technology
Upgrade from traditional PMMA or overly-rigid ceramics with our precision-milled G-CAM inlays and onlays. Reinforced with medical-grade graphene, G-CAM offers the perfect balance of flexibility and strength, acting more like natural dentition than any other material on the market.
Upgrade from traditional PMMA or overly-rigid ceramics with our precision-milled G-CAM inlays and onlays. Reinforced with medical-grade graphene, G-CAM offers the perfect balance of flexibility and strength, acting more like natural dentition than any other material on the market.
Why Choose G-CAM for Inlays & Onlays?
- Kind to Opposing Dentition: Unlike zirconia, G-CAM has a hardness slightly lower than natural enamel, virtually eliminating premature wear on opposing teeth.
- Shock Absorption: The high flexural strength and elastic modulus allow these restorations to absorb masticatory loads, protecting the underlying tooth structure.
- Superior Aesthetics: Available in multichromatic shades (VITA Classic) that mimic natural translucency and gradients for a seamless blend.
- Bacteriostatic & Stable: Nano-reinforced structure resists plaque buildup and maintains color stability over time due to extremely low water absorption.
- Ultra-Thin Precision: Can be milled to incredible precision (down to 0.4mm–0.6mm thickness) without the risk of brittle fractures.
Clinical Cementation Protocol
For optimal bonding of G-CAM restorations, follow this standardized dual-cure resin protocol.
1. Preparation of the Restoration (Lab/Clinic)
- Sandblasting: Gently sandblast the internal surface of the inlay/onlay with aluminum oxide (approx. 50–110 microns) at 2 bars of pressure.
- Cleaning: Clean with alcohol (isopropanol or ethyl alcohol) and dry thoroughly with oil-free pressurized air.
- Priming: Apply a thin layer of acrylic primer and light-cure for 30–60 seconds to ensure a strong chemical bond to the biopolymer.
2. Preparation of the Tooth
- Isolation: Use a rubber dam to ensure a dry field.
- Acid Etching: Apply 37% phosphoric acid gel to the preparation for 15–30 seconds, rinse thoroughly, and dry.
- Bonding: Apply your preferred adhesive/primer
- (e.g., G-Premio BOND) according to the manufacturer’s instructions.
3. Final Cementation
-
Cement Choice: Use a dual-cure resin cement
(e.g., G-CEM LinkForce or G-CEM One). - Seating: Apply cement to the restoration, seat with firm pressure, and remove excess immediately.
- Polymerization: Light-cure all margins for a minimum of 20–30 seconds per surface.
Share this Product
Other great brands

QUESTIONS & ANSWERS
Have a Question?
Be the first to ask a question about this.